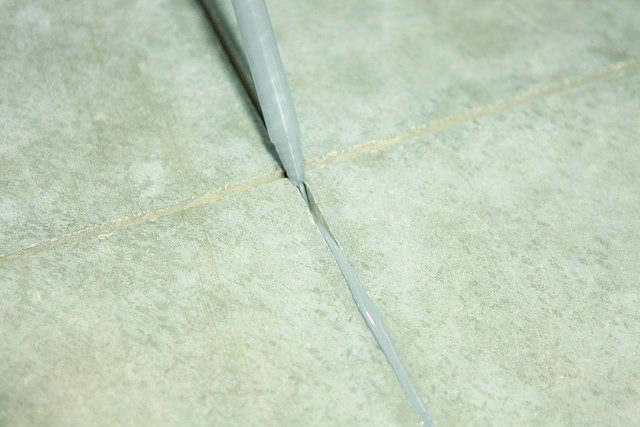
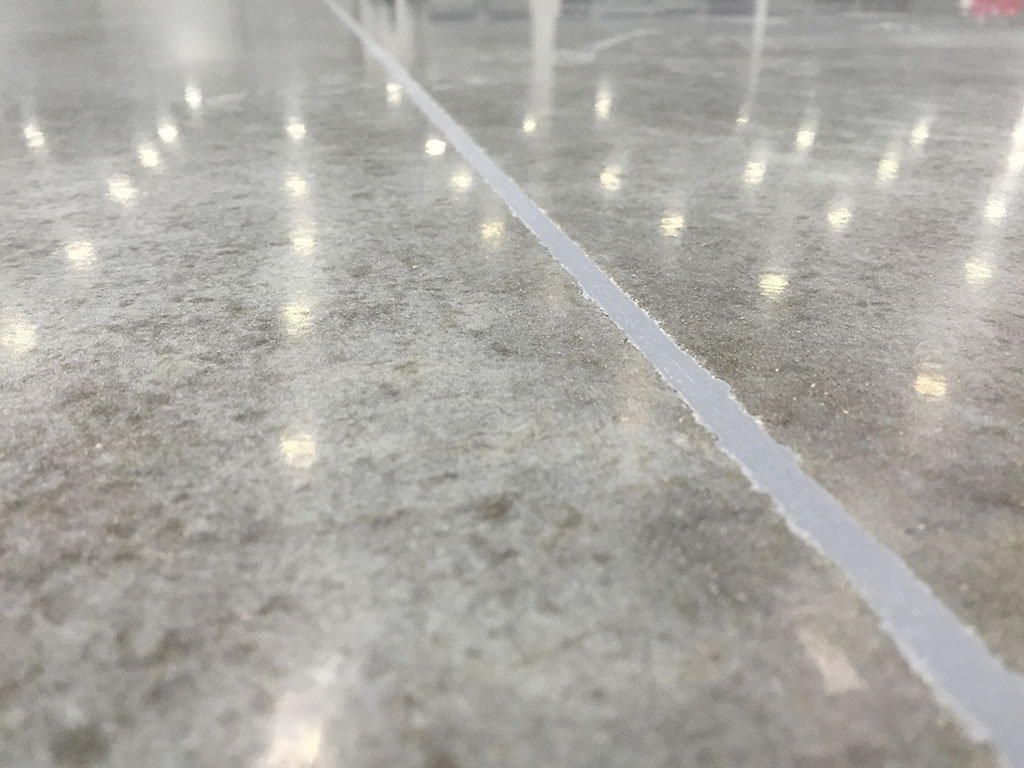
“Filling Control Joints”
Originally published in:

Click here to download full PDF article as it appeared in Concrete Construction.
Installing control joints is nothing new. But in recent years there have been debates among concrete professionals over the best methods and materials to properly fill control joints.
Owners want to move projects along as quickly as possible and there is always pressure to cut costs and save money. Enter polyurea to the joint filler market in the mid-1990’s.The physical characteristics and installation advantages of this material solved this quicker, less expensive, faster goal. But as with any new technology there were assumed benefits and, after some time in the field, there were, and are, actual benefits.
Claims were made by some manufacturers that polyurea could be used on green concrete. Other recommended installation techniques sometimes resulted in joint sealers being installed too early. Joints were also sometimes sealed in ways that minimized the amount of sealant in order to save money. These practices resulted in as many failures as successes.
A new joint sealer/filler technology with real advantages was upon us. And now that the mythical recommendations and the actual proven techniques have converged, joints have a clear winner. To fully understand the life-cycle impact of polyurea joint fillers, let’s first look at the life of a concrete control joint.
The rugged life of a control joint
As we know, control joints (more properly, according to the American Concrete Institute, contraction joints) are essentially planned cracks that allow for movements caused by temperature and moisture changes (drying shrinkage). In other words, when the concrete does shrink and crack, the control joint is placed so that the slab will crack on a line instead of randomly across the slab. A slab will continue to shrink, and widen the control joint, for years, although most of the shrinkage takes place within the first year and especially within the first 90 days.
Once the joint is cut into place, the joint itself is ready to do its job. The joint can then be left as is, sealed, or filled. Sealing or filling should be put off as long as possible to allow the joint to widen, although in practice joints are usually sealed or filled sooner than ideal. Understanding the difference and the purpose of sealing or filling is important. Sealing is done with a flexible (elastomeric) material typically installed over backer rod to give the seal the proper shape in the joint. Filling is done the full depth of the joint with a material that has enough compressive strength to support the edges of the joint from stresses imposed by heavy, hard-wheeled traffic. Joints in slabs that will not be subjected to heavy hard-wheeled traffic can safely be left unfilled or sealed with a flexible sealer.
But if left unsealed or unfilled, control joints can become areas for dirt, dust, and debris to collect and cause problems. In food processing, pharmaceutical, and medical facilities, they can become even greater problem areas harboring water, moisture, and threatening bacteria if not properly filled and maintained.
Failure to properly seal or fill control joints may also result in moisture migrating through the joint into the base and subbase and incompressible debris filling the joint, impacting adjacent slab sections. When that happens, consequent base/subbase and slab distress can result in rocking slabs and even vertical displacement at the joint.

To protect and fill
A concrete joint and its filler material undergo many stresses during the curing period of new slabs and that continues during its service life with ongoing shrinkage, thermal cycling, and traffic loads. After cutting 1/8-to 3/16-inch-wide control joints, the saw-cut edges of the slab require serious protection. These sharp unsupported edges can undergo significant distress and deterioration. or spalling, from traffic and slab movement during their service life. Improperly selected materials and installation techniques for joint fillers can have an adverse effect on how well these edges hold up.
The stressful forces that pull the joint fill material apart and compress it back together can crack or disbond the joint fill material from the joint edges. Loads from traffic (punch-down forces) and equipment can push the joint sealer or filler downward and damage adhesion and edge protection.
Polyurea as a joint filler
Much of the debate about the recommended technique to properly fill control joints stemmed from the gain in market share and popularity of polyurea joint filler materials in the early- to mid-1990s. Polyurea has different physical properties than the traditional semi-rigid epoxies that were then commonly used.
In those days, manufacturers recommended using a backer rod when installing polyurea. The idea was that since polyurea has improved properties in adhesion, faster set and cure times than epoxy joint fillers, and greater elongation, you could use less of it and, therefore, save money. But the backer rod technique proved not to hold up in joint fill/joint protection applications. Traffic load forces were too severe without full depth fill since the joint spall could break off the joint edge below the backer rod. Full-depth filling provides support to the joint edges clear to the bottom of the saw cut.
Softer materials such as polyurethane and silicone have low compression values and are unsuitable for protecting the nose of the joint against traffic loads. These materials will seal joints against water intrusion as long as they are not disbonded by punch down or debris accumulation. These products are installed over backer rod and offer no edge protection. These are joint sealants and there are different requirements for materials and installation.
Joint filler materials have different, more robust physical properties than joint sealants. Semi-rigid epoxy systems address the compression problems. When installed after most slab shrinkage is complete, epoxy offers good edge support and sealant properties. But with little elongation properties, shrinkage soon breaks the bond. This signals the need for filling these cracks.
Polyurea, although with shrinkage will lose some of its ability to support the joint edge, will remain bonded to the joint edges, serving as a sealant. With enough shrinkage (polyurea used as joint filler will elongate about 10%) the polyurea will crack or separate from the joint edges. These voids should be filled with polyurea for both epoxy- and polyurea-filled joints.
Polyurea also has the ability to cure in the presence of varying low levels of moisture. This, combined with polyurea’s higher adhesion values, sets up another myth. It was once sold that polyurea could be installed on green slabs. While it’s true that polyurea can cure all by itself in the presence of moisture, it needs to adhere to the concrete around it, and if that concrete is wet, adhesion values can be greatly compromised. Therefore, it is not recommended that polyurea or any other material be applied to wet surfaces.
Time has proven the advantages of polyurea as a joint filler and a joint sealant. But concrete is continuously susceptible to movement and atmospheric conditions. This is why joints and joint fillers are like any other system in a building which require regular inspection and maintenance.

Proper installation
Not only is the proper selection of the joint fill material important, but the adherence to proper surface preparation and installation techniques can turn even the best materials into failures.
Thanks to organizations such as ACI, there are industry-accepted recommendations for the proper installation of control joints and joint fillers and sealers. Control joint depth should be at least 1/4 of the overall slab thickness at the location of joint placement. That translates to 11/2-inch-deep control joints for 6-inch-thick slabs, 2-inch-deep in 8-inch slabs, and so forth.
The width of the control joint has been controlled by the ability of tools and saw blades to maintain plumb. That means about 3/16-inch-wide for tooled joints up to 2 inches deep, and 1/8-inch-wide for saw blades. Before filling, all control joints must be re-sawed dry (clean-out sawed) with a concrete saw and diamond blade with vacuum attachment to remove laitance and debris from the joint. This process need only remove about 1/32-inch from each side of the interior joint side wall to produce a clean, sound abraded surface for the joint filler to adhere to. This process will only widen the joint from 1/8 inch to 3/16 inch.
Never underestimate proper joint preparation. The primary reason for disbonding is concrete shrinkage. This is because the shrinking concrete is a pulling force on the joint fill materials. Poor surface prep can lead to quicker and easier failure from disbondment.
Formula for a high-performance control joint
While there are many ways to demonstrate life-cycle cost savings using polyurea, it shouldn’t occur by using less of it in the control joint. And although polyurea can cure faster in a broader range of temperatures and environmental conditions, that doesn’t mean it should be installed on green or wet concrete. Polyurea joint fillers and sealants can significantly improve the performance and life of concrete control joints. When industry-accepted practices for surface preparation and installation are followed, polyurea can last for years and perform well in the toughest environments.


